Audience Group
Audience Groups are collections of contacts grouped based on criteria such as tags, contact details, status, source, or customer activity. They help you organize contacts and send targeted campaigns or communication to the right audience.
Steps to Create an Audience Group
Step 1: Navigate to the Contacts section from the main menu.
Step 2: Select contacts manually or use filters such as:
- Name
- Mobile Number
- Tags
- Status
- Source
- Opt-in Status
- Created Date
Click Apply Filter to display matching contacts and select the required contacts.
Step 3: Click Create Audience Group, enter the required Group Name, and optionally add a description.
Note: A confirmation message will appear once the Audience Group is created successfully.
Managing Your Audience Groups
Update a Contact to the Audience Group
Step 1: Go to the Contacts section from the main menu.
Step 2: Select the contact you want to update.
Step 3: Open the Create Audience Group dropdown menu.
Step 4: Click Update with Audience Group.
Step 5: Select the audience group you want to add the contact to.
Step 6: Click Add.
Note: A confirmation message will appear: Audience Group Updated Successfully.
Delete an Audience Group
Step 1: Go to the Audience Groups section from the main menu.
Step 2: Select the group you want to delete.
Step 3: Open the Actions menu for that group.
Step 4: Click Delete.
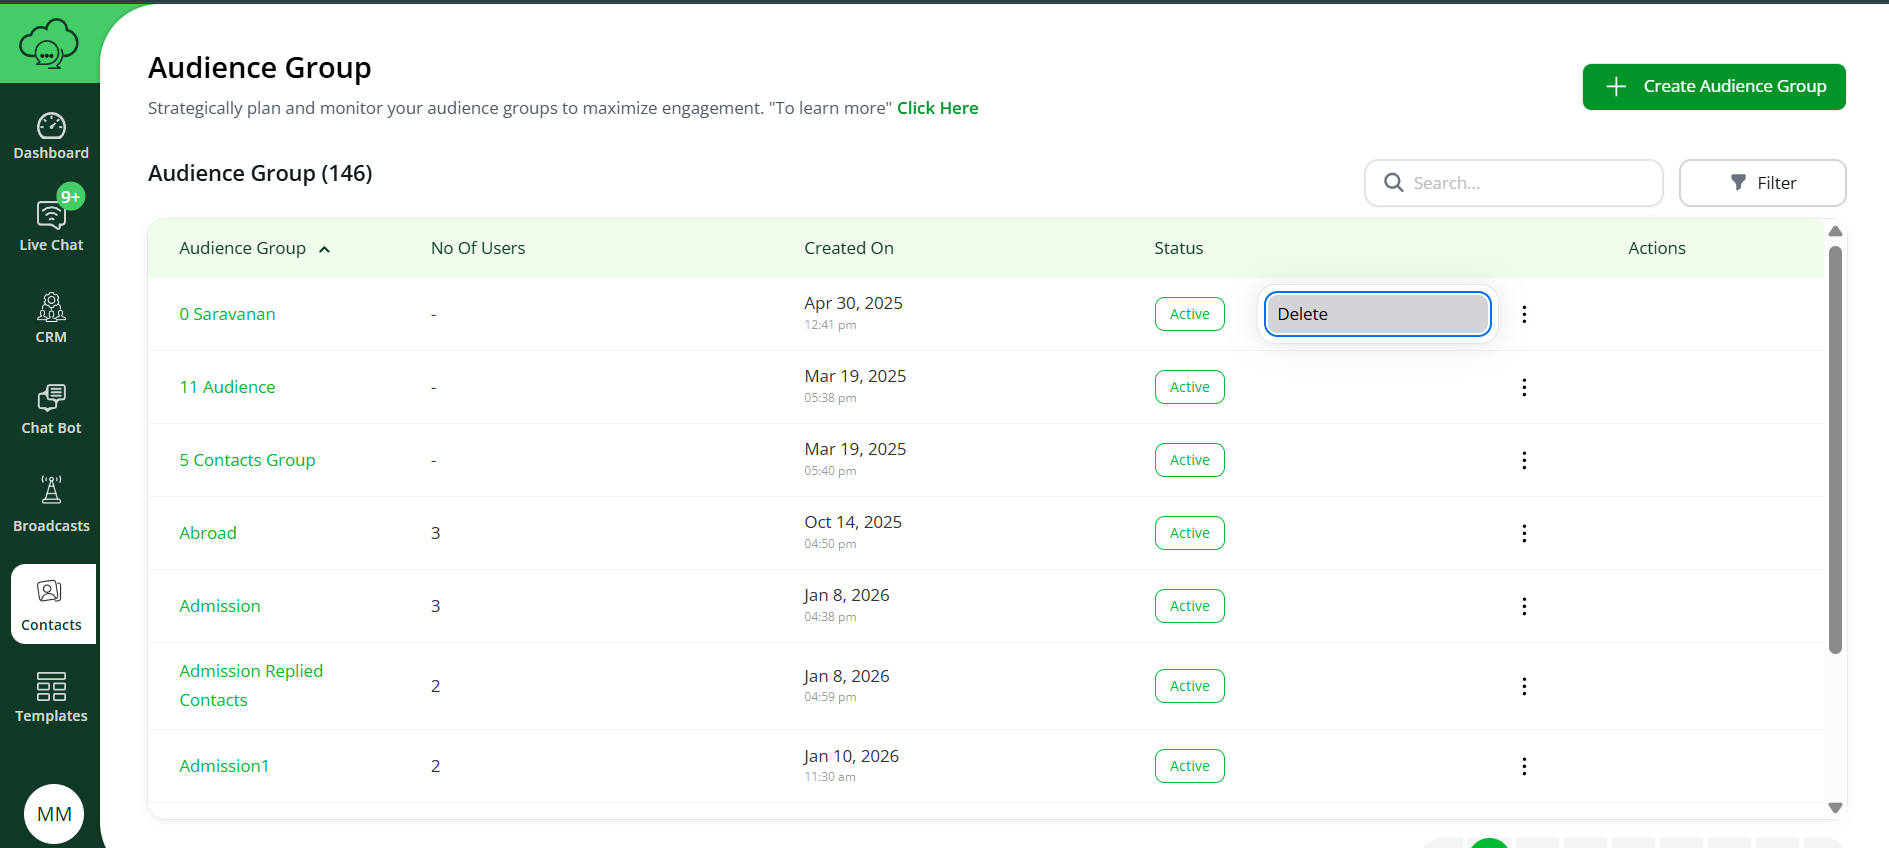
Note: A confirmation message will appear: Audience Group disabled Successfully.