Broadcast
The Broadcast feature in WappCloud enables businesses to send messages, updates, and promotional content to multiple contacts simultaneously. It is designed to ensure efficient communication while maintaining consistency and reach.
Create Broadcast

Steps to Create a Broadcast
Step 1: Navigate to the Broadcast Section
- Go to the Broadcast tab from the Dashboard.
- Click the green + Create Broadcast button at the top-right corner.
Step 2: Enter Broadcast Details
- Broadcast Name: Give your broadcast a clear name (e.g., “Happy New Year Sale”).
- Description: Briefly explain the purpose of your broadcast (e.g., “Announcing our New Year Sale”). It is optional.
- Template:
- Under Select Template, choose the template category (Marketing / Utility) from the drop-down list and select a pre-created template from the list.
- Preview the selected template on the right side of the screen.
- If the template contains variables (for example,
{{1}}), select the value from the drop-down and add a fallback value such as Customer. - Click Next to continue.
Step 3: Select Audience Group
- From the Audience Group drop-down, select the group to send the broadcast to.
- Review the number of contacts in the selected audience group.
- Click Next to proceed to the review section.
Step 4: Review and Send
- Double-check the template details, audience group, and preview template.
- Keep Auto-tagging enabled to track responses to template buttons.
- Enable Auto lead capture — when a contact replies, they are automatically added to the selected CRM stage with tags applied for tracking.
- To schedule the broadcast, enable Schedule Later and select the date and time.
- Click Send an Example Message to Myself to test the broadcast. Enter your country code and phone number, then click Send Sample Message.
- Click Send and confirm by selecting Yes in the pop-up and click Send.
Broadcast Report
The Broadcast Report feature helps you track the performance of your broadcast campaigns and export detailed reports directly from WappCloud.
Step 1: Open Broadcast Report
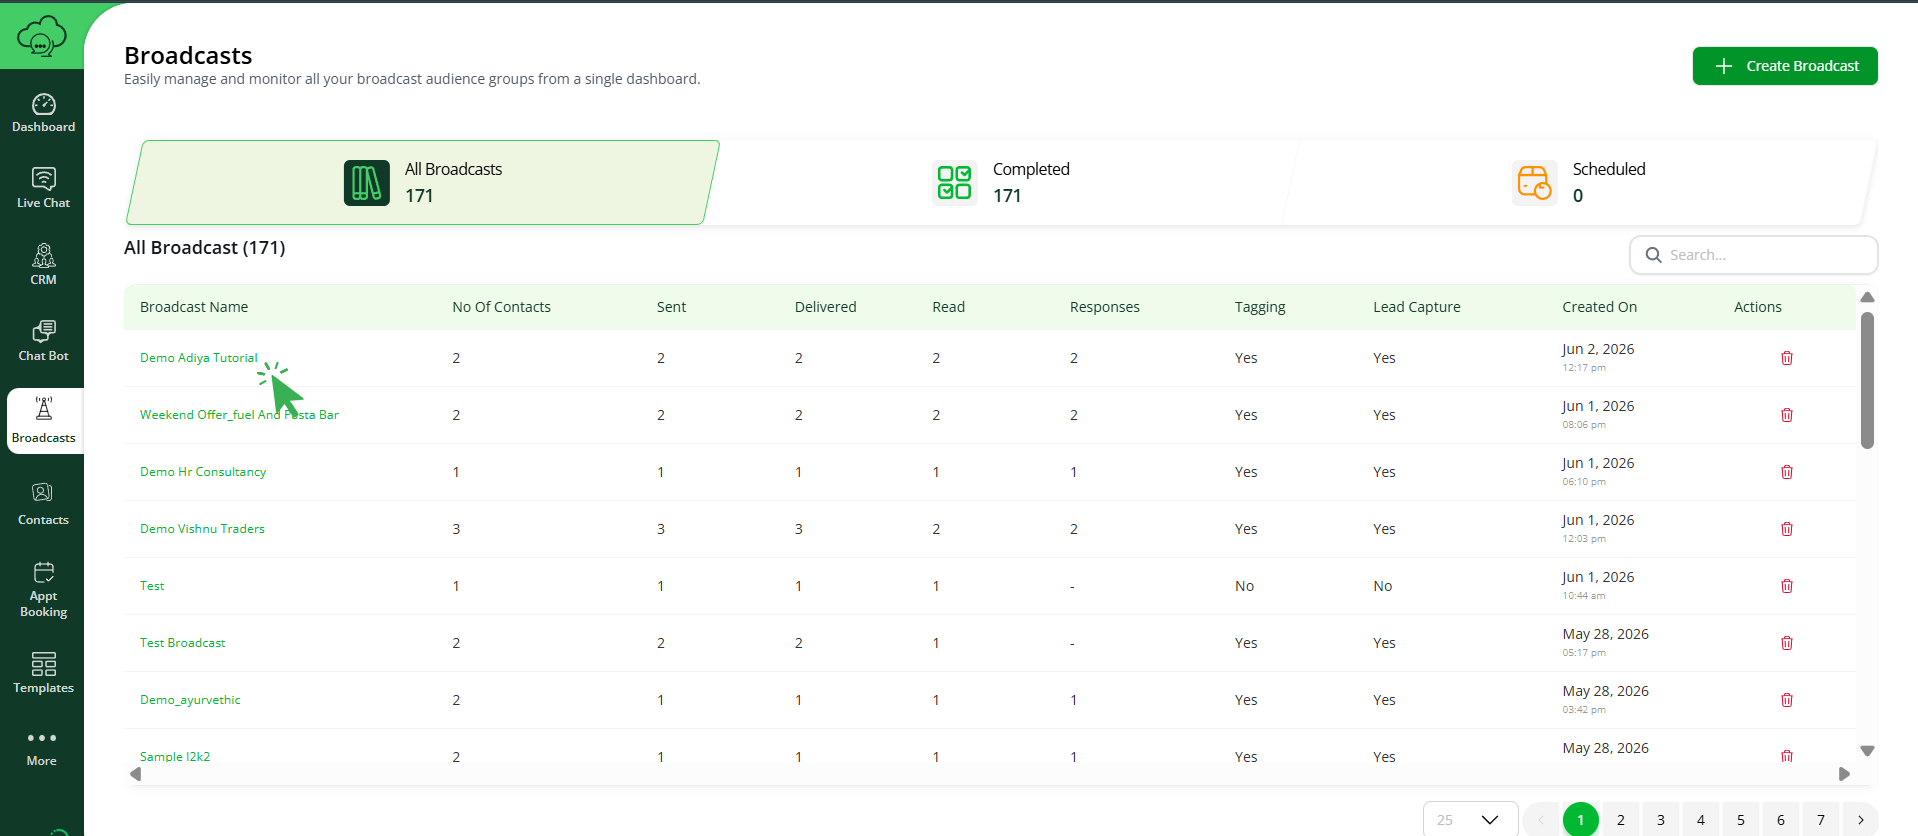
From the Broadcast List page, select the required broadcast name to view its report.
Step 2: View Broadcast Metrics
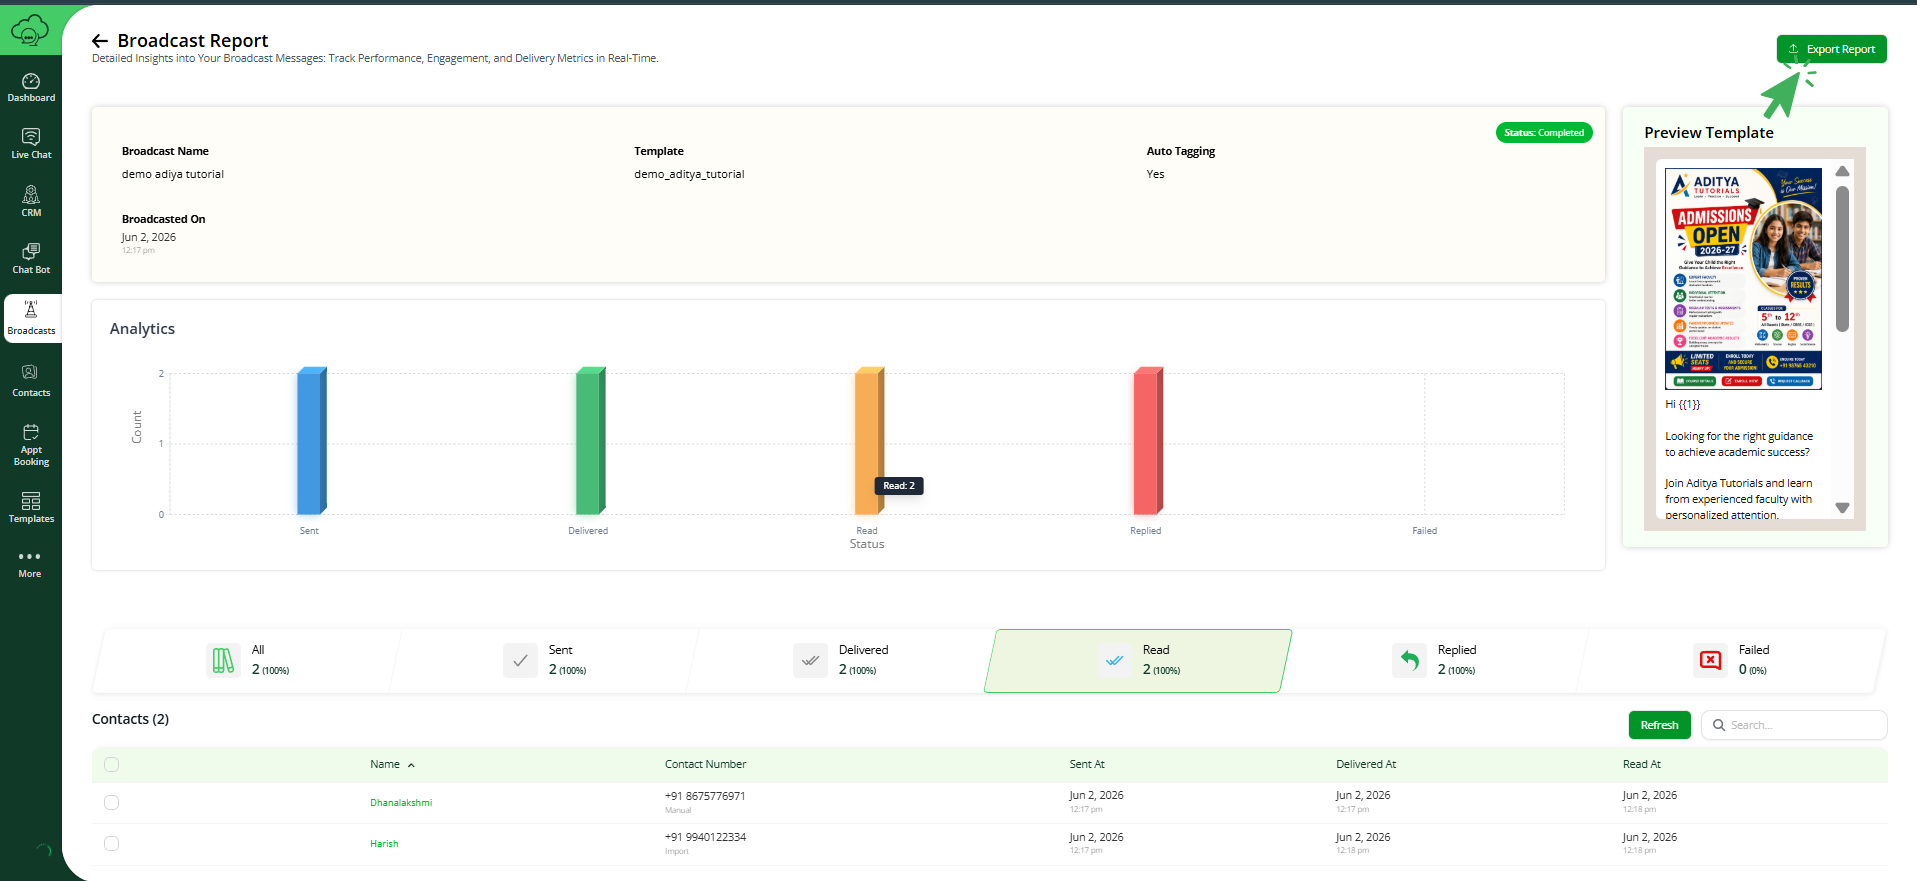
You can track the following metrics for each broadcast campaign:
- Sent Count
- Delivered Count
- Read Count
- Replied Count
- Failed Count
Step 3: Export Broadcast Report
Click on Export Report to download the broadcast performance report for further analysis and record keeping.