Add Contacts
Easily create contacts in WappCloud using single contact creation or bulk contact import. Add contact details manually or upload multiple contacts quickly for efficient contact management.
Single Contact Creation
Steps to Create a Single Contact
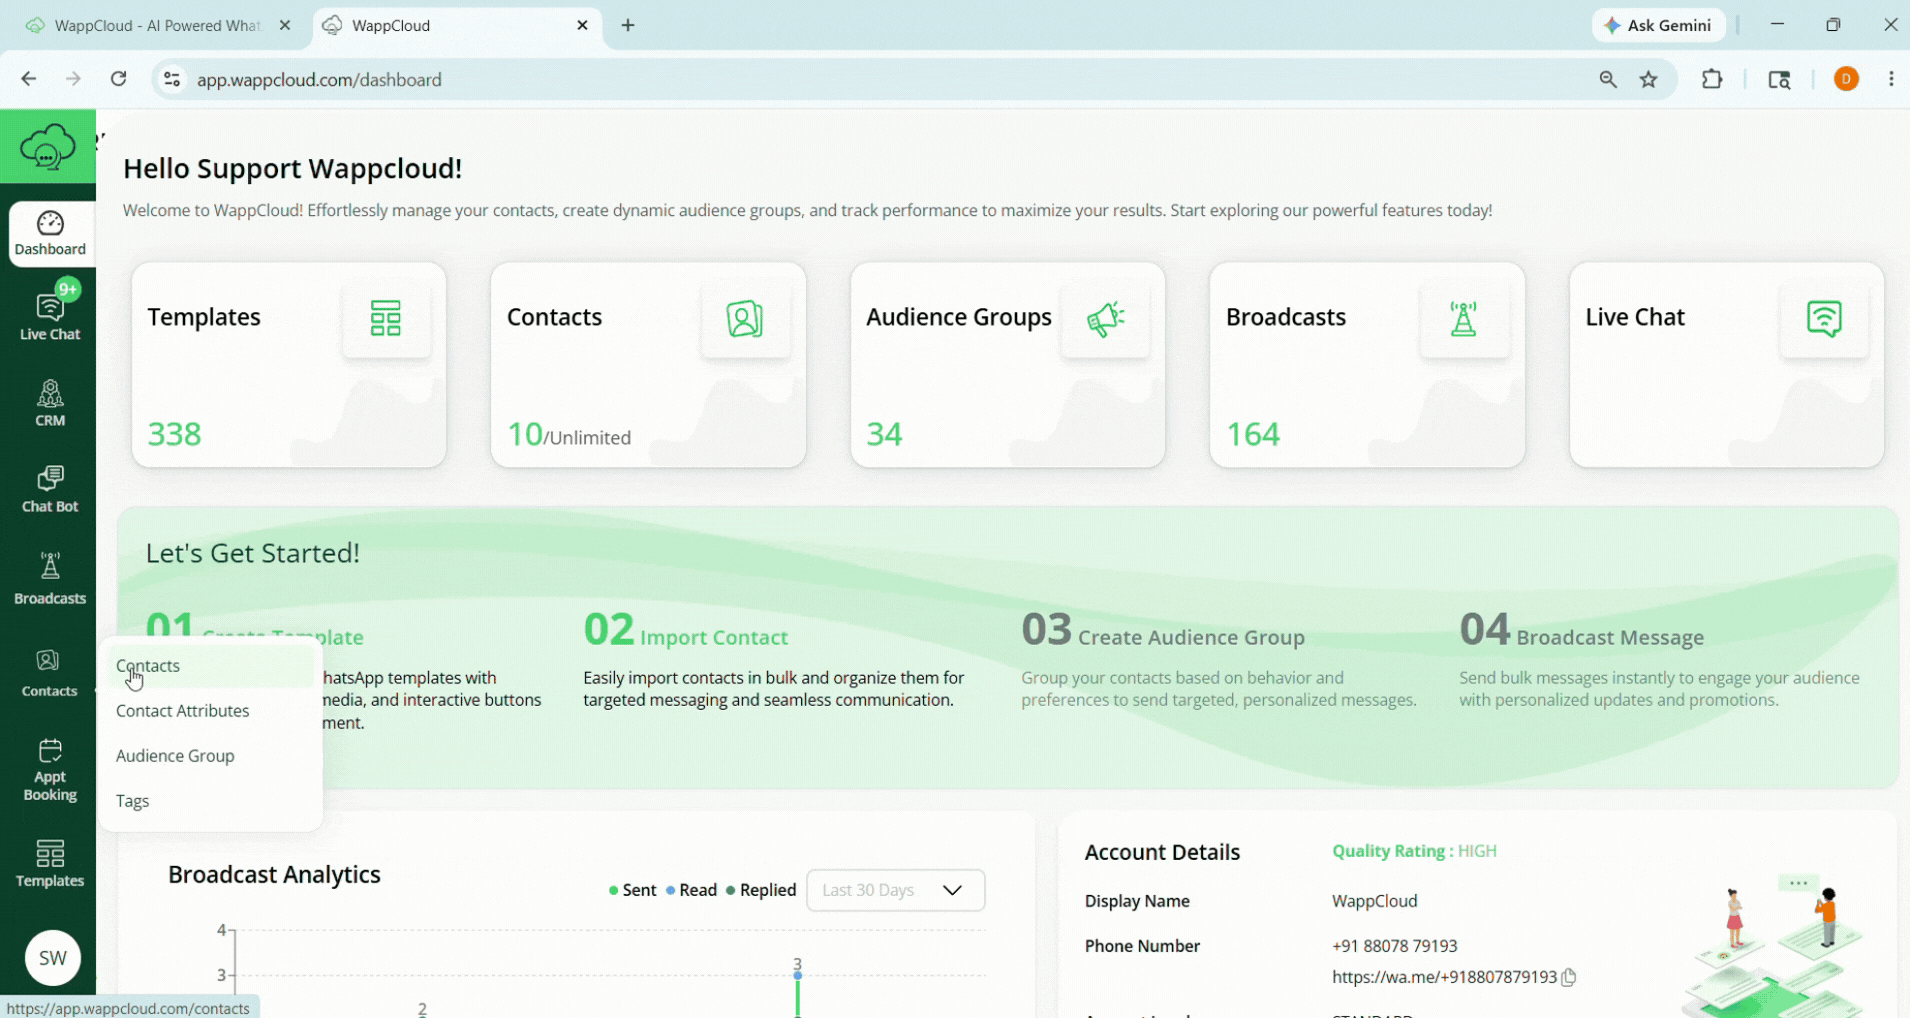
Step 1: Navigate to the Contacts Section
Go to the Contacts tab from the Dashboard and click the green + Add Contact button at the top-right corner.
Step 2: Enter Contact Details
A side window will open where you can enter the contact details such as:
- Name
- Mobile Number
- Email Address
- Contact attributes
Step 3: Save the Contact
Click Save Contact to create the contact. The contact will then appear in the All Contacts list with an Active status.
Note:
This method is ideal for adding individual or important contacts accurately.
Importing Bulk Contacts
The Import Contacts feature in WappCloud allows you to upload multiple contacts at once, making it easier to manage large customer databases. Instead of adding contacts manually one by one, you can quickly import contact details using a standardized Excel template. This helps ensure accurate and organized data entry for campaigns and communication.
Follow the steps below to import contacts successfully.
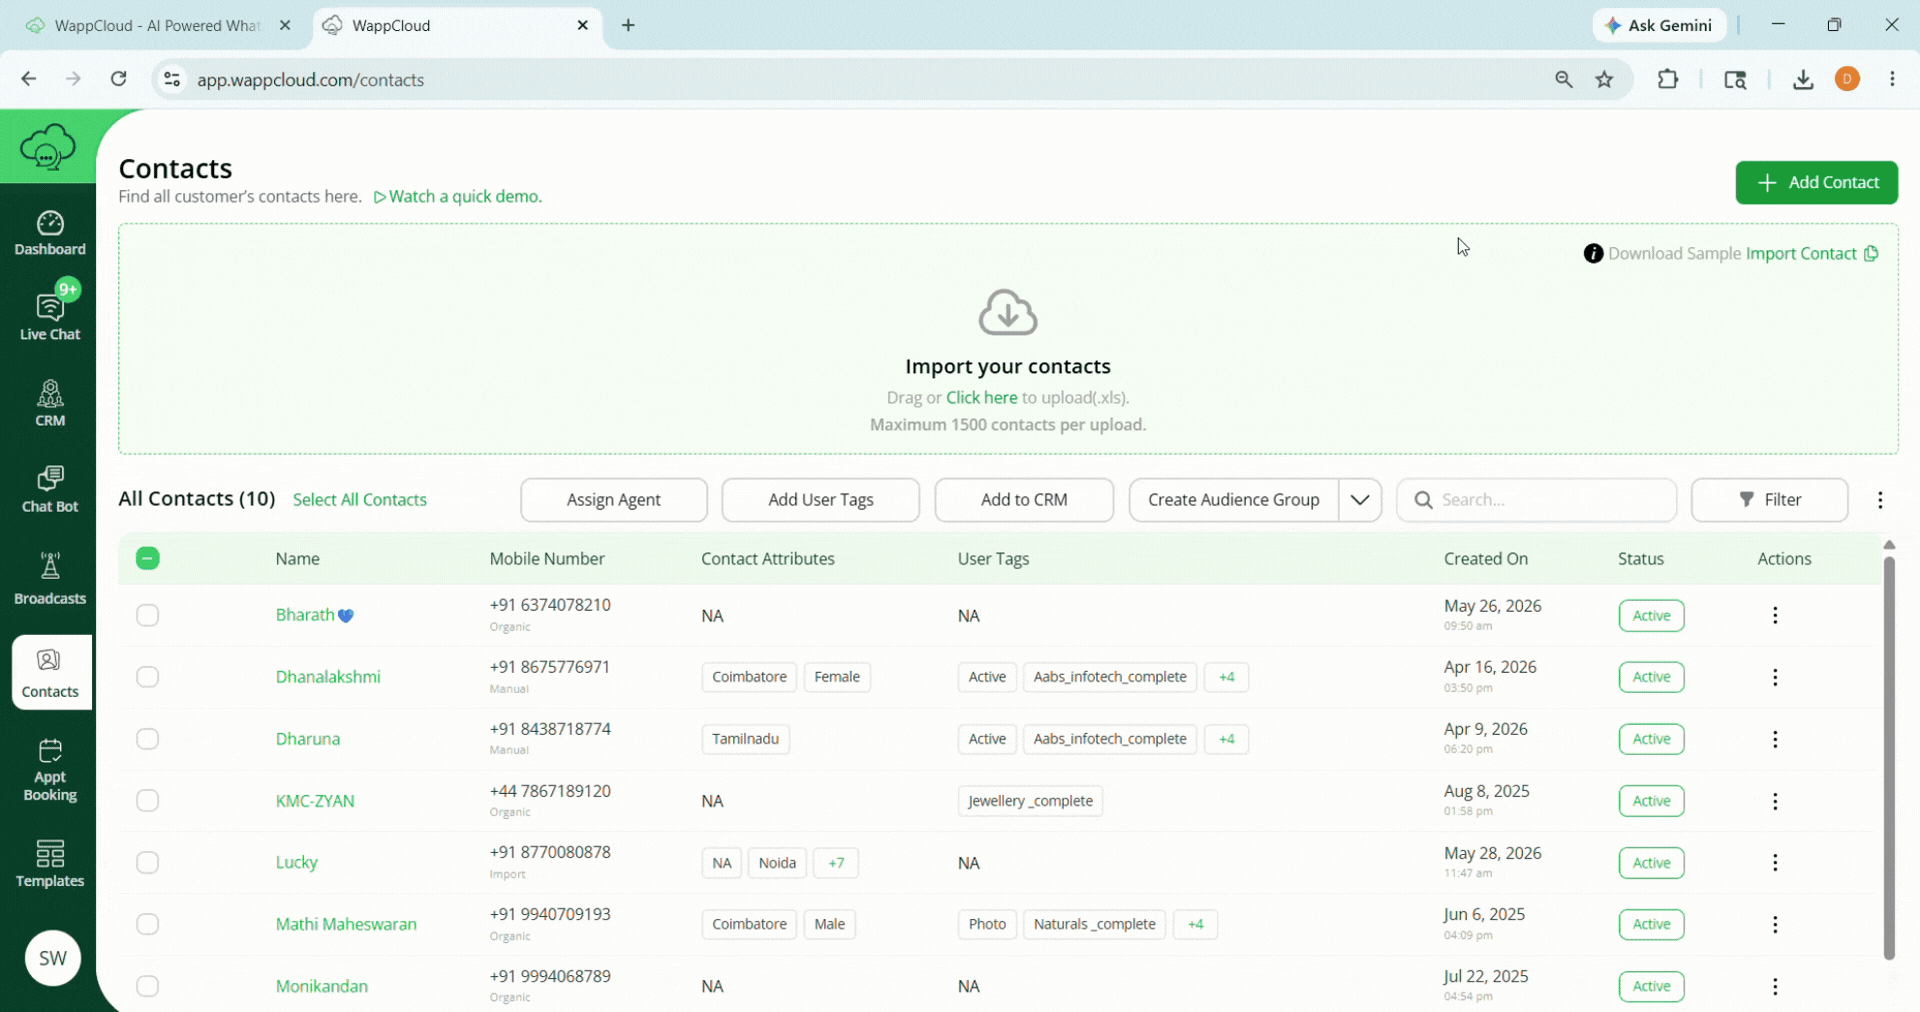
Step 1: Download the Sample Template
- Navigate to the Contacts section in WappCloud.
- Click Download Sample Template to download the pre-formatted Excel file.
- Open the file and review the required fields:
- Name
- Country Code
- Mobile Number
- Attributes
Step 2: Fill in Contact Details
- Open the downloaded file using Excel, Google Sheets, or any spreadsheet editor.
- Enter the required details for each contact:
- Name – Full name of the contact
- Mobile Number – Ensure the number is entered in the correct format
- Country Code – Enter the correct country code
- Attributes – Add optional details such as location, category, or preferences. Attributes must be created beforehand in the Contact Attributes section before downloading the sample template.
- Save the file after entering all contact details.
Step 3: Upload the Completed Template
- Return to the Contacts section in WappCloud.
- Drag and drop the completed file into the Import Contacts area, or click Import Contacts to browse and select the file manually.
Step 4: Import Contacts
- Click Import to begin uploading the contacts.
- Wait for the upload process to complete successfully.
Note:
All imported contacts will appear in the All Contacts list and will be available for campaigns, broadcasts, and customer communication.